How to Build a Decorative Wall Walk Board for Your Gym
Creating a customized decorative wall walk board for your gym can be a fulfilling project that adds a unique touch to your space. Follow these steps to make your own 2 x 7-foot wall walk board, designed with strength and resilience in mind.
Step 1: Conceptualizing the Design

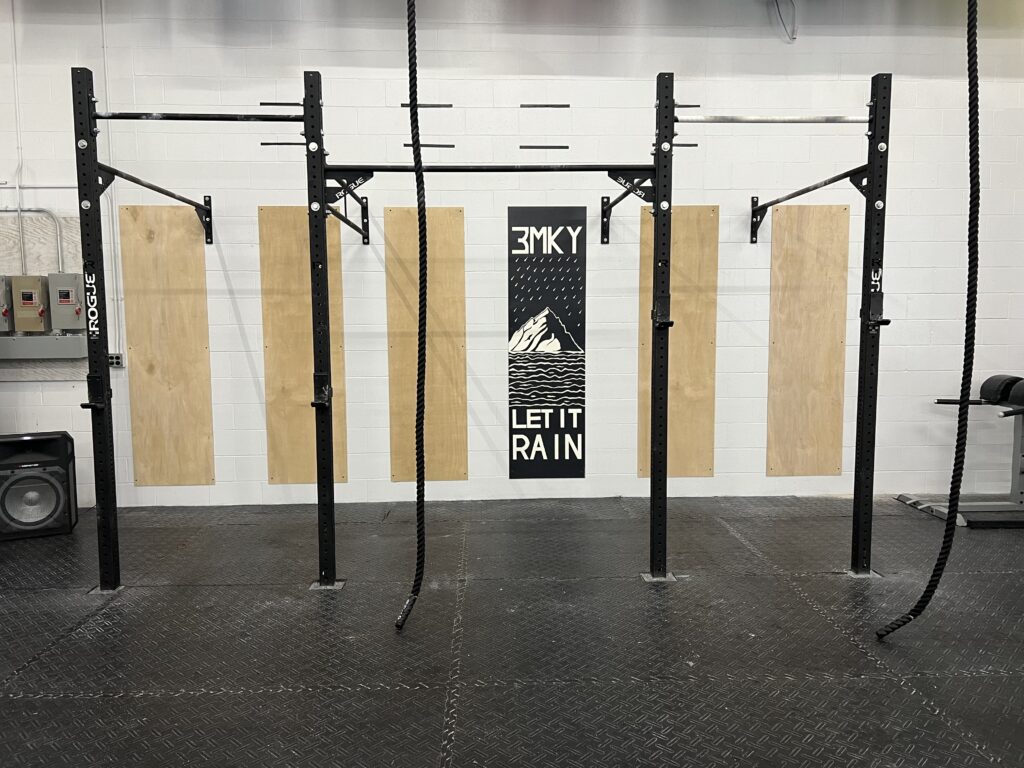
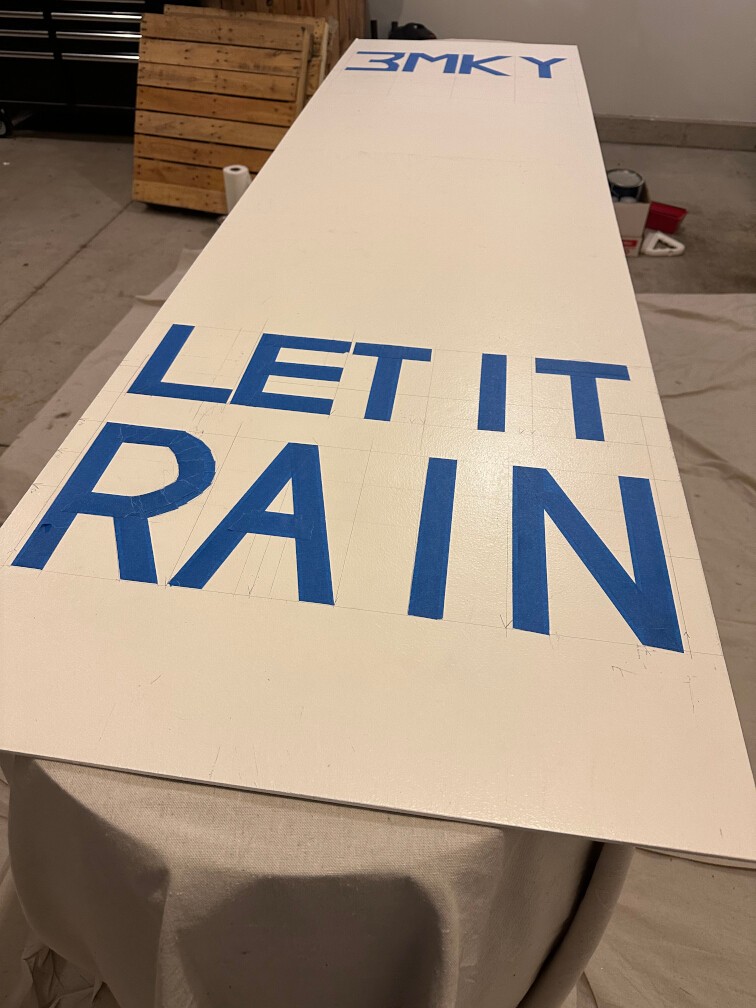
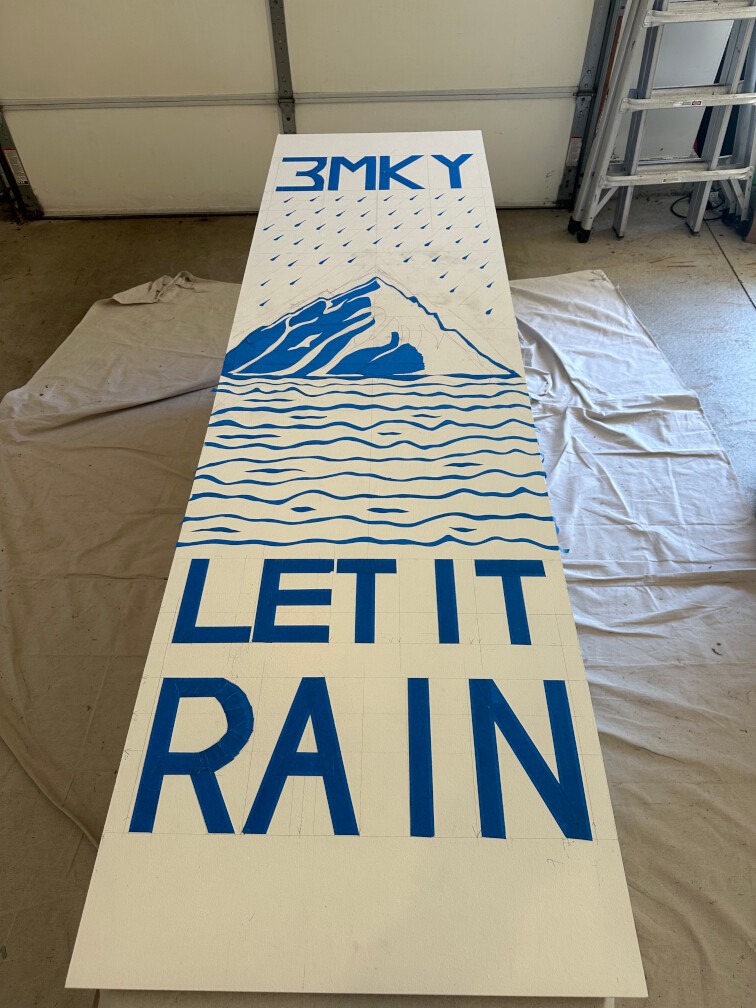
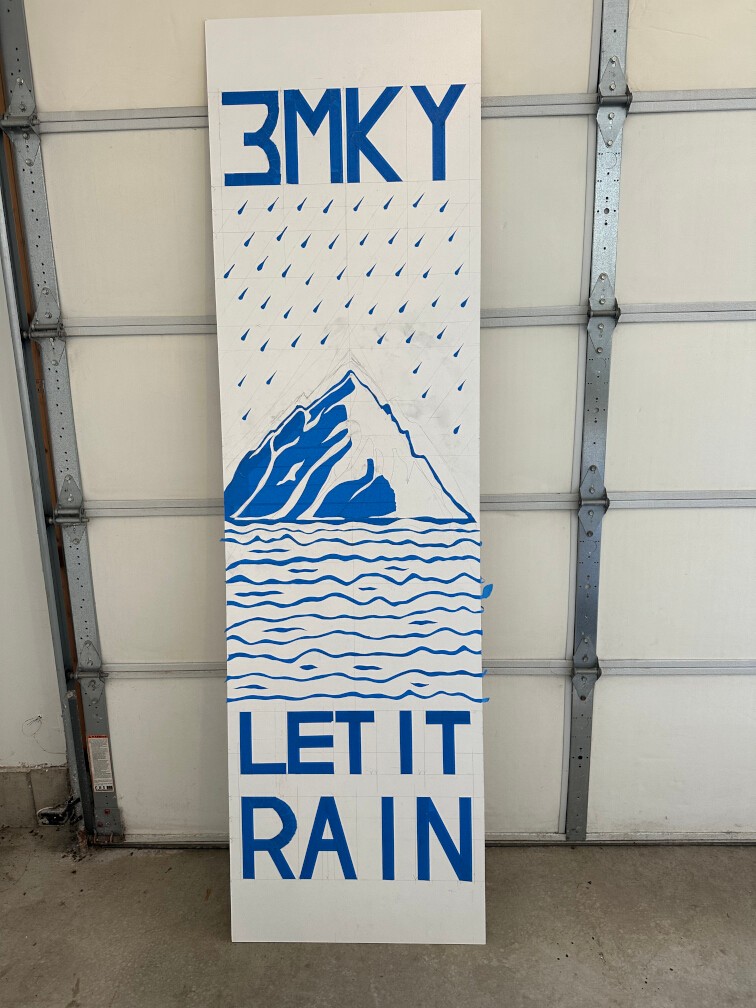
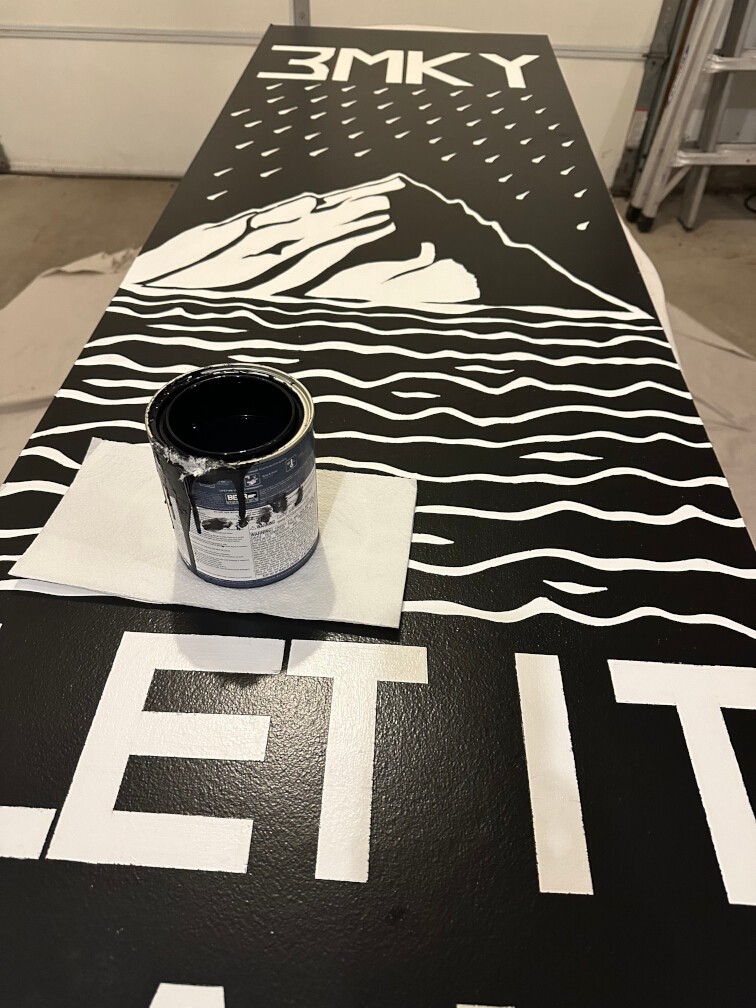
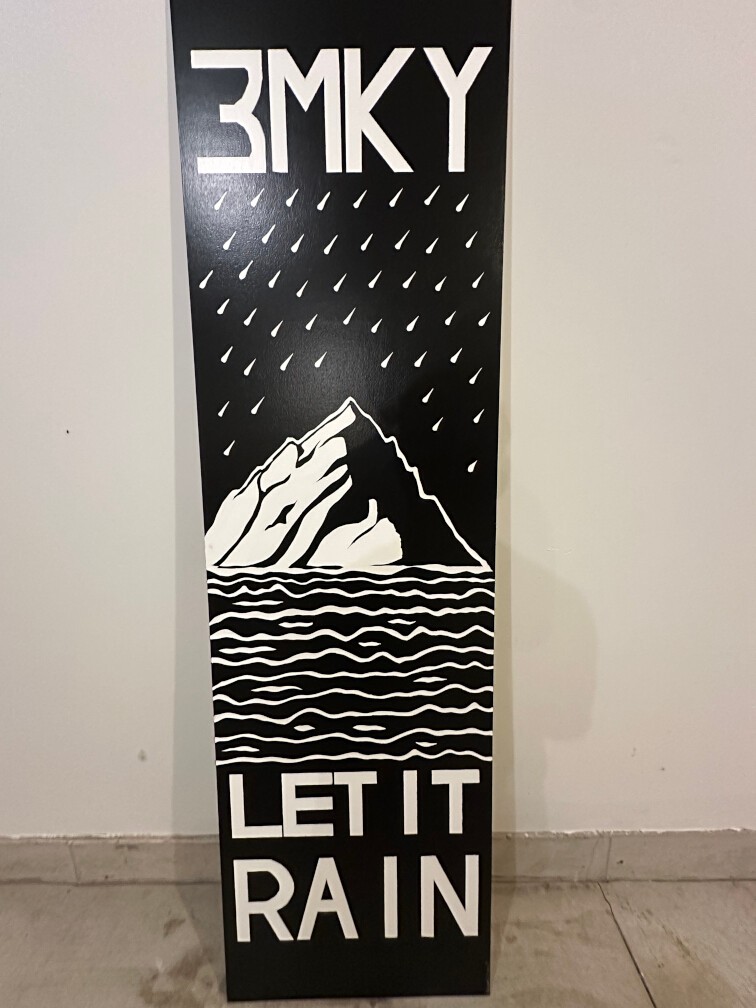
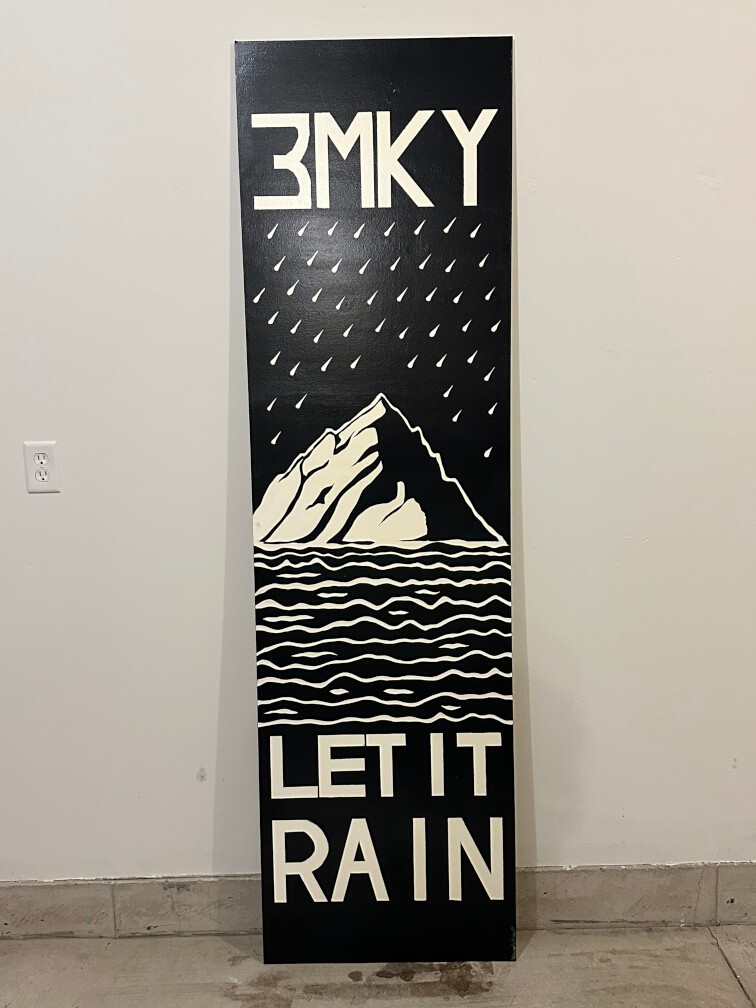
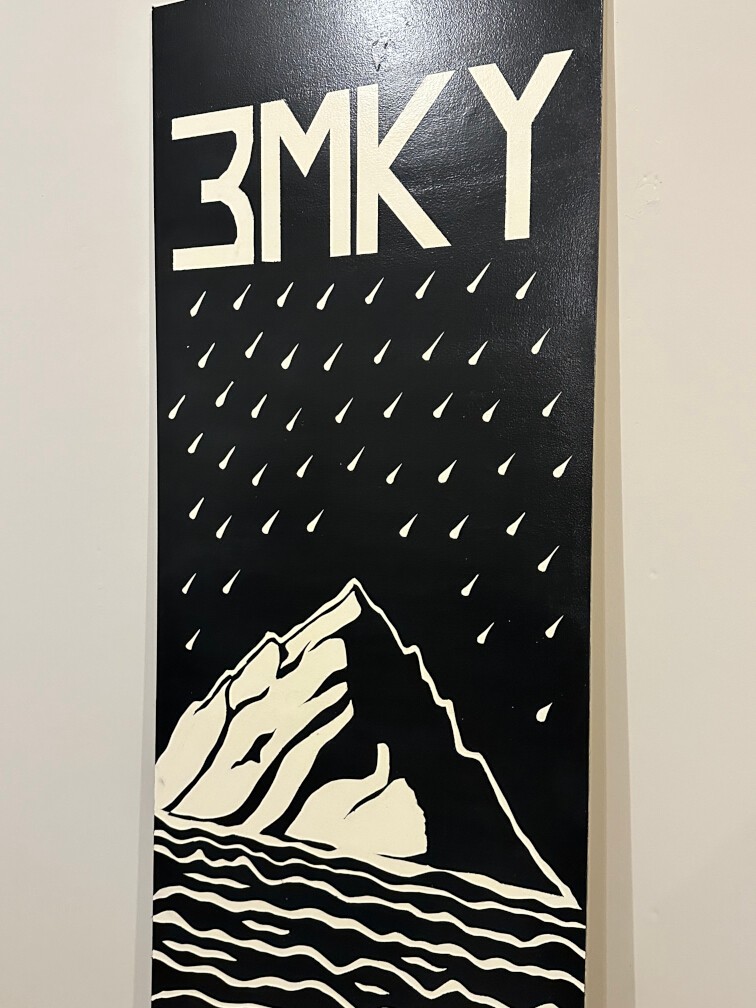
On a car ride back from the CrossFit Masters Competition, we used ChatGPT to generate an idea for the wall walk board. The goal was to create a 2 x 7-foot wooden board themed around Noah’s Ark. This would feature the ‘3MKY’ logo, the phrase ‘Let it Rain,’ and a design evoking strength and resilience in a modern gym setting.
The ChatGPT prompt used was the following:
“Create a distinct design for a 2 x 7 foot wooden board for a gym, featuring the theme of Noah’s Ark. The design should incorporate the ‘3MKY’ logo and the phrase ‘Let it Rain’. The background should be styled to fit a modern gym setting, using black and white colors. The designs should subtly include elements related to strength and resilience, symbolized by the ark and rain imagery.”
Step 2: Gather Your Supplies
Before getting started, visit a hardware store to gather your supplies. For this project, you’ll need:
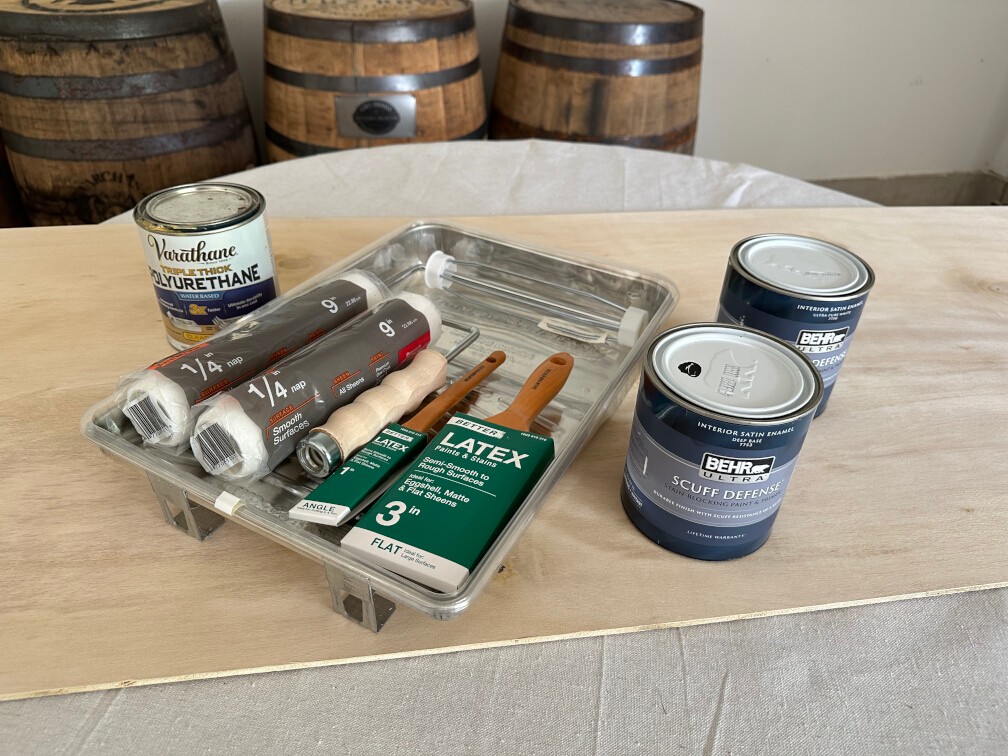
Paint:
Behr Ultra, Scuff Defense, Interior Satin Enamel in Black (Deep Base 7753)
Behr Ultra, Scuff Defense, Interior Satin Enamel in Ultra Pure White (Primer)
Tools:
Latex paint brushes (3-inch and 1-inch)
Varathane Polyurethane
¼-inch nap rollers
Exacto knife
Fine tip paintbrush
Painters tape (1-inch and 2-inch)
Drywall T-Square
Step 3: Prepare Your Work Area
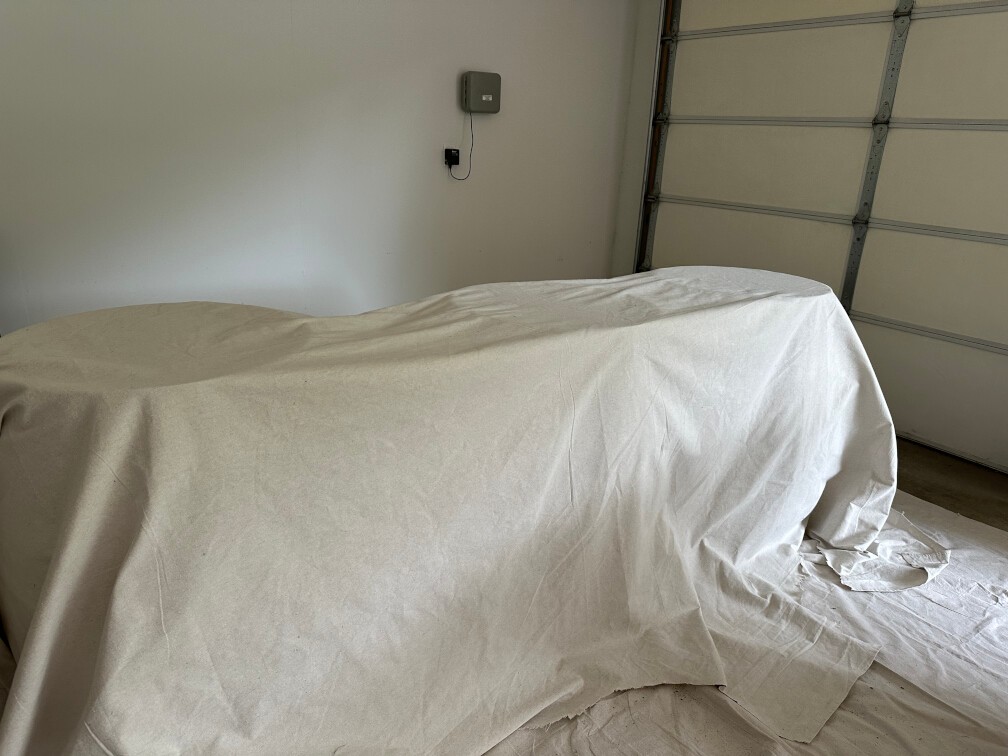
Set up your painting area by laying a painter’s cloth on the floor. Use bourbon barrels or any level surface to support the board as you work. Ensure that the board is flat and stable.
Step 4: Sand the Wood
Sand the entire board with 120-grit sandpaper to achieve a smooth surface. Even if the wood seems pre-sanded, this step is essential for an even paint finish.
Step 5: Prime the Board
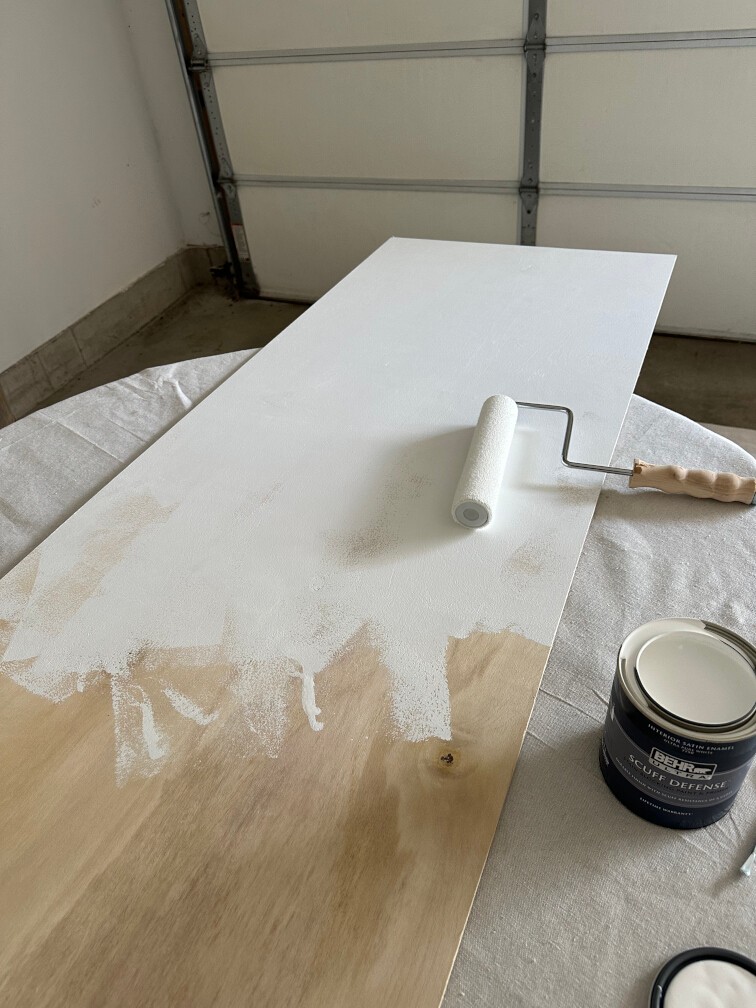
Paint the board with the Ultra Pure White primer. Apply three coats, allowing each coat to dry for 2 hours. This will create a solid base layer for your design.
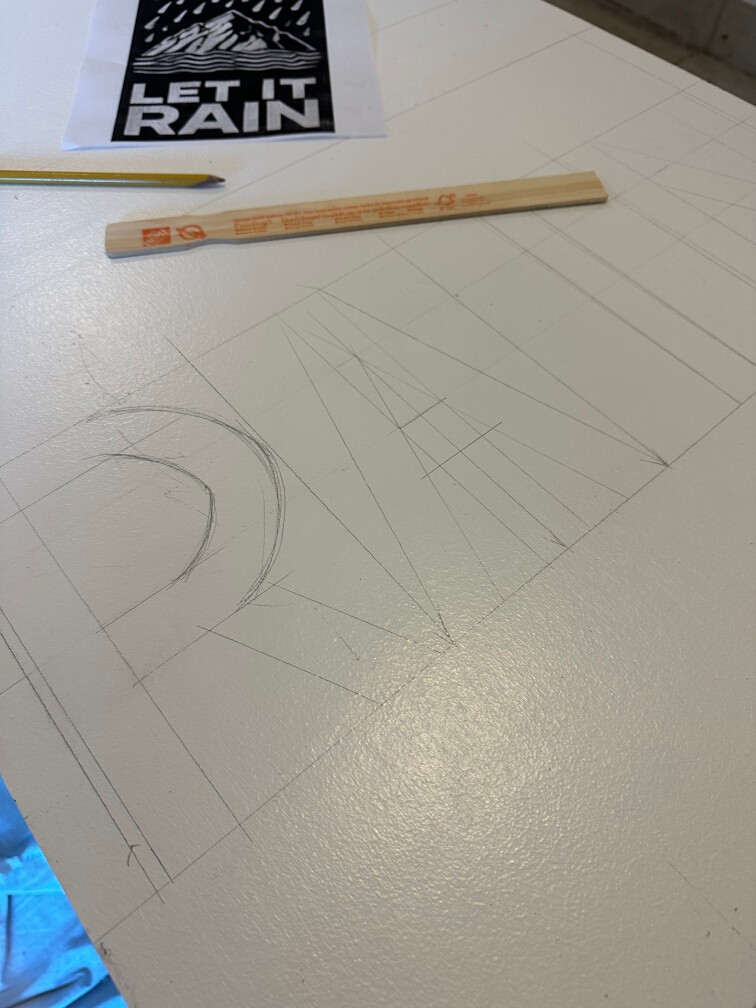
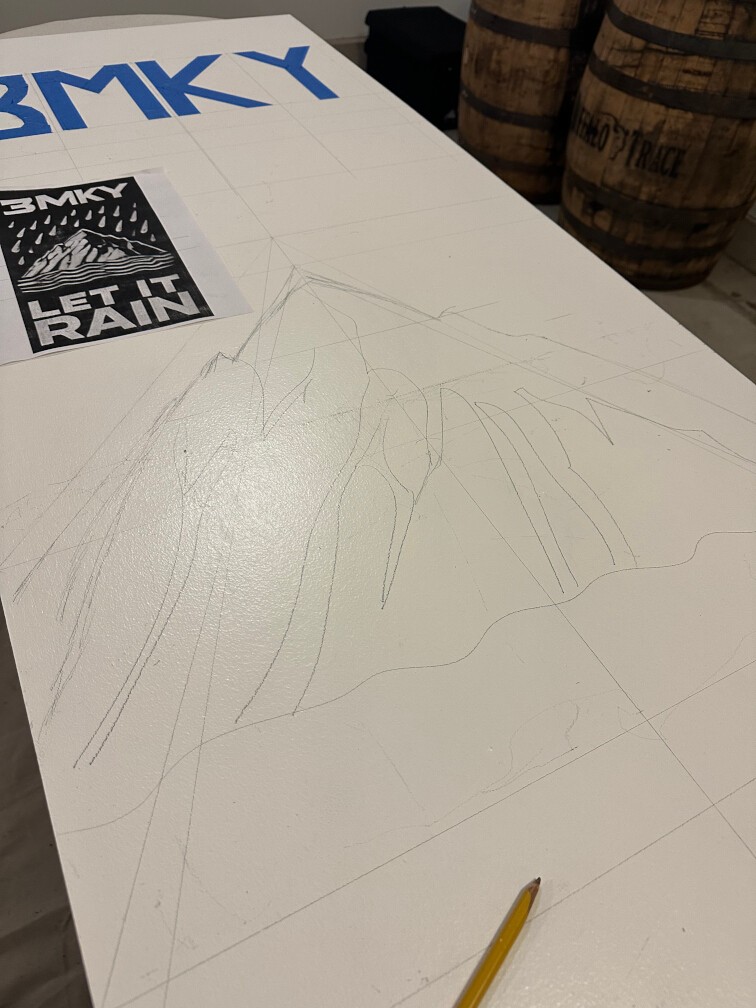
Step 6: Measure and Plan the Layout
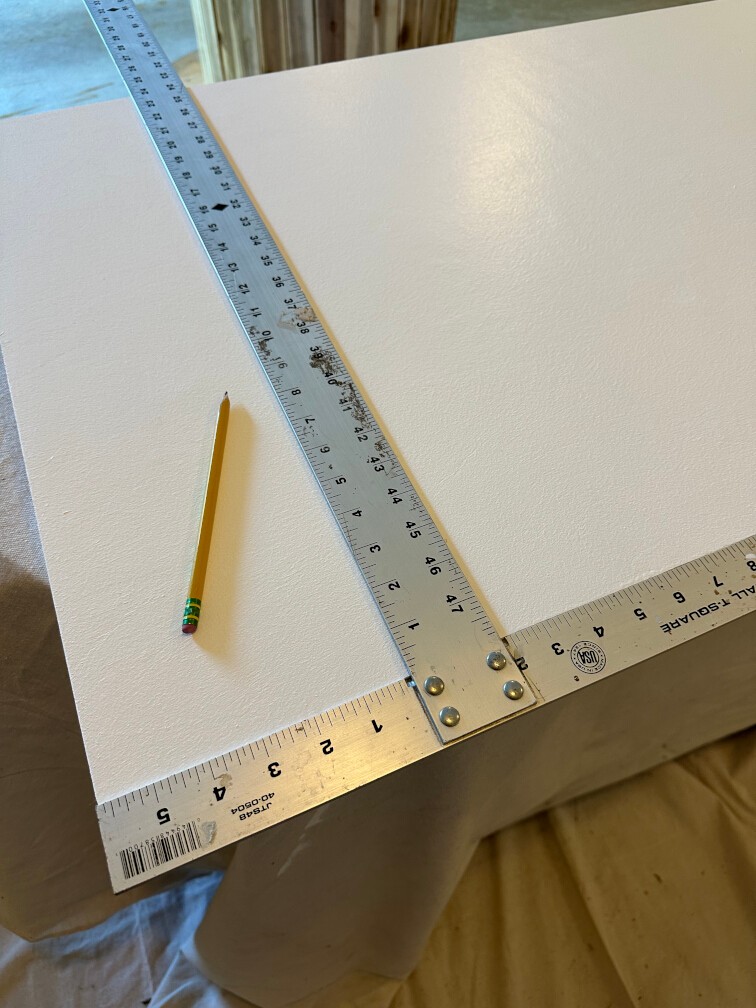
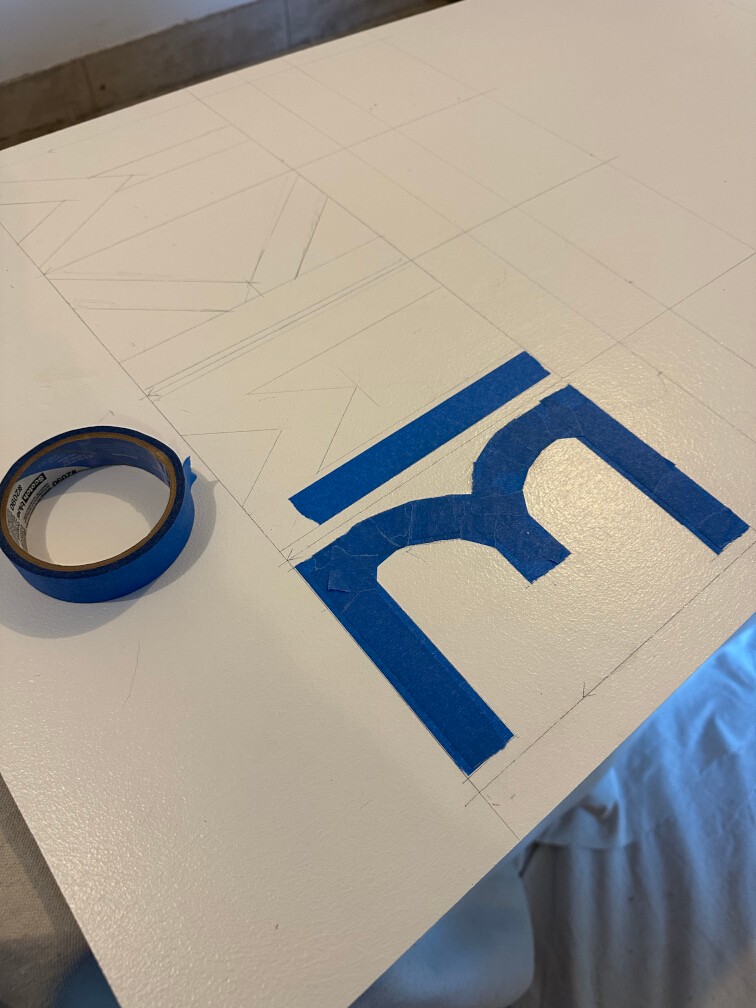
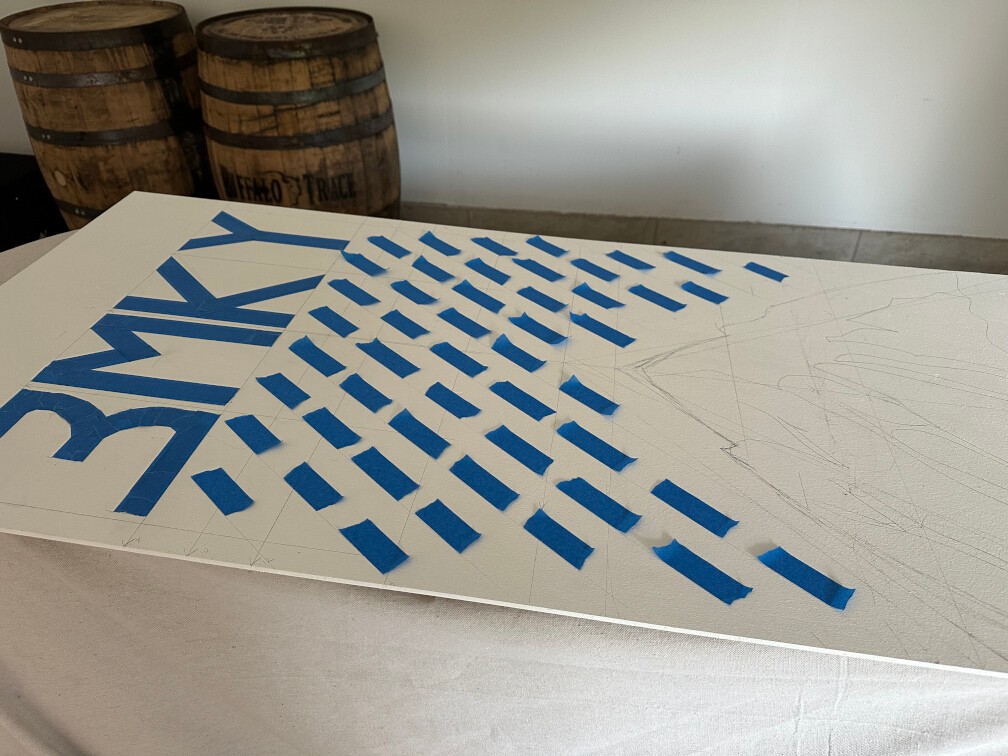
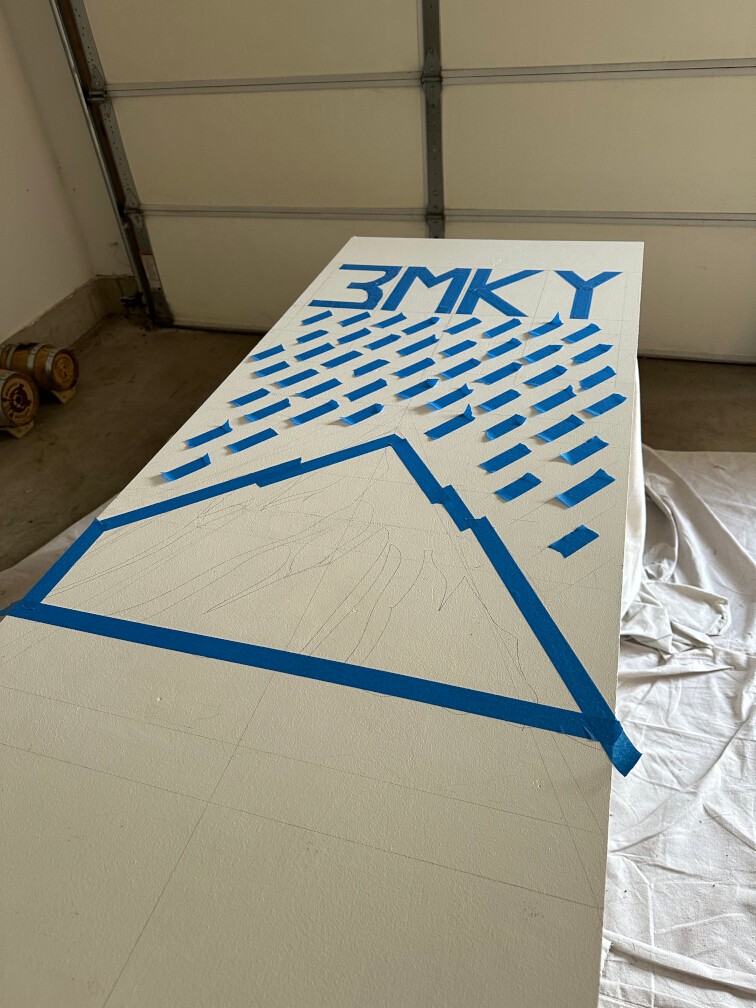
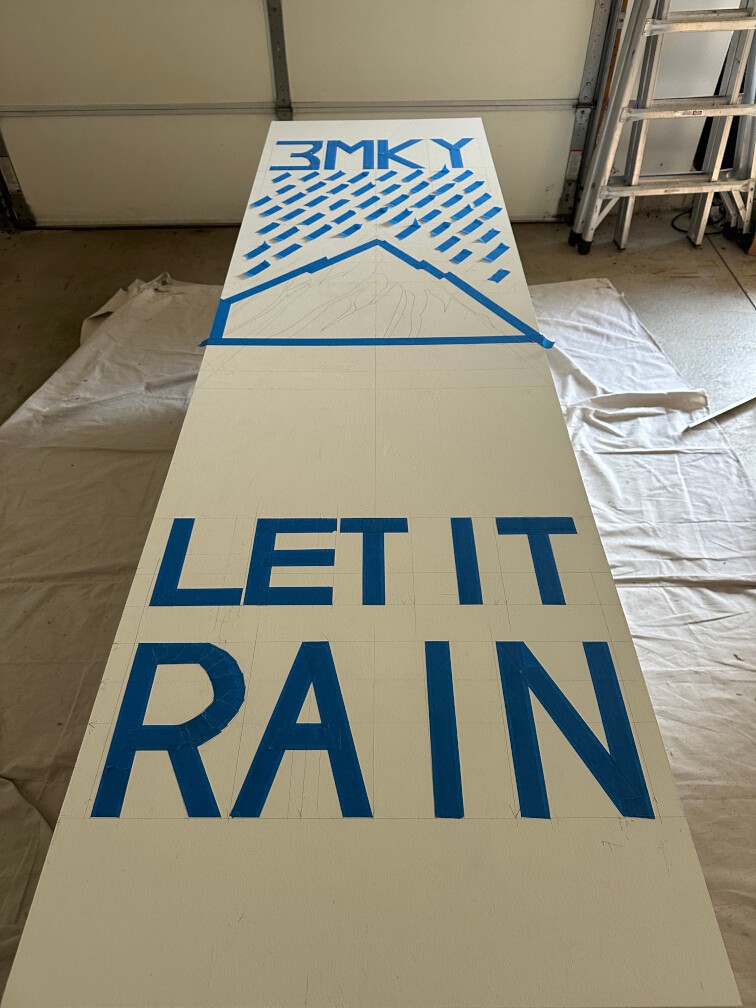
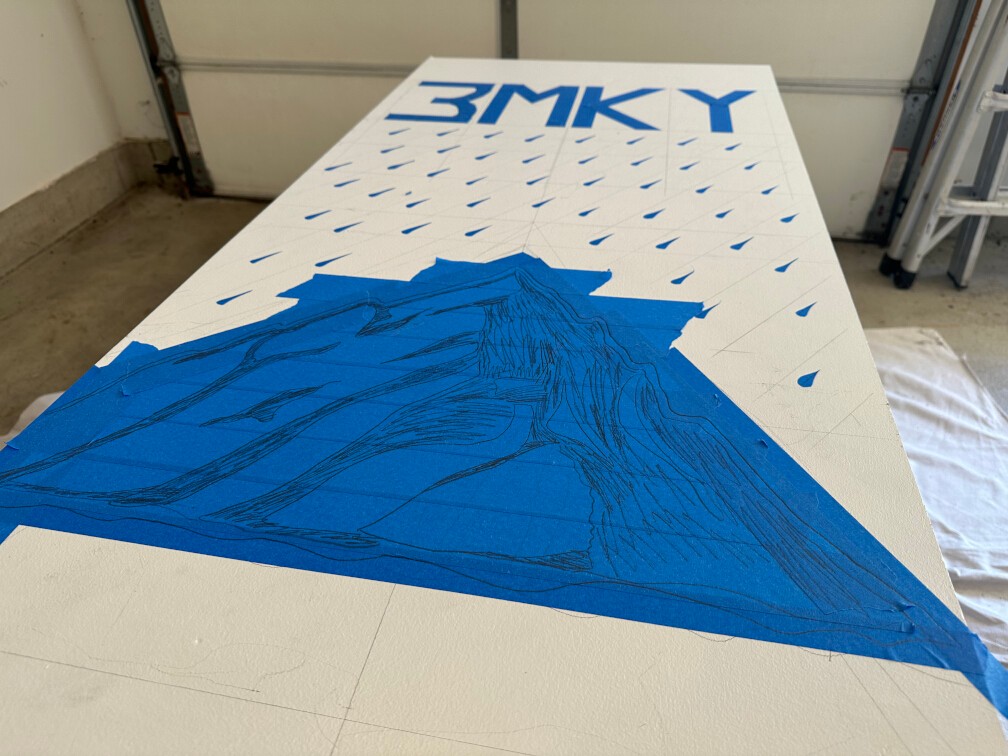
Using a drywall T-square, divide the board into areas for your design. The layout for this project includes:
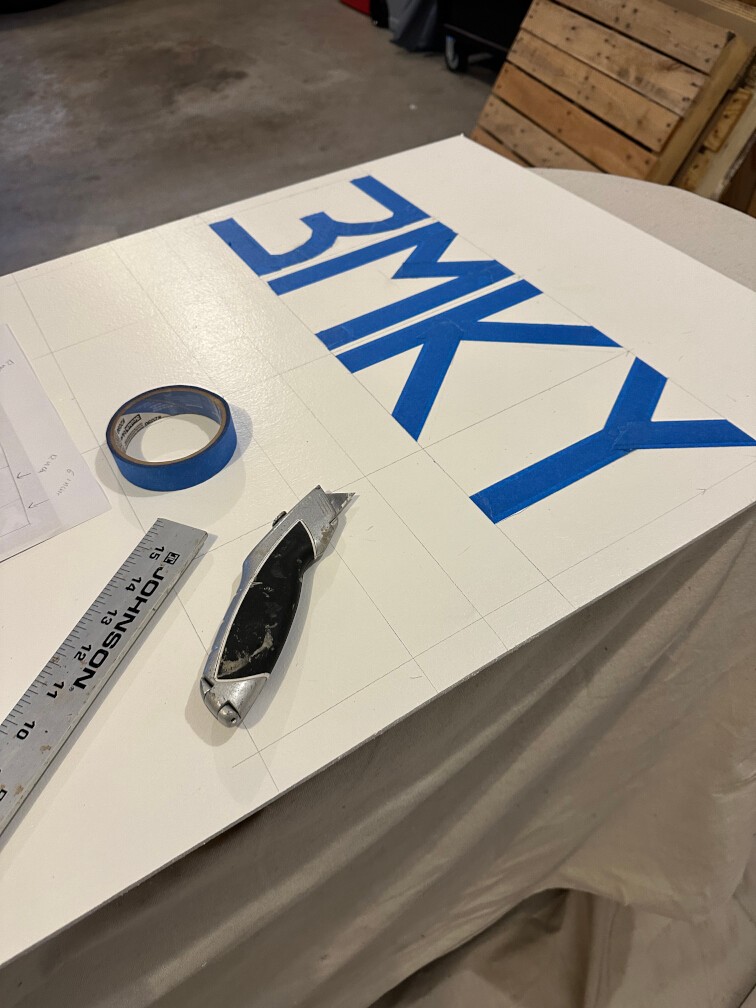
- “3MKY” Logo
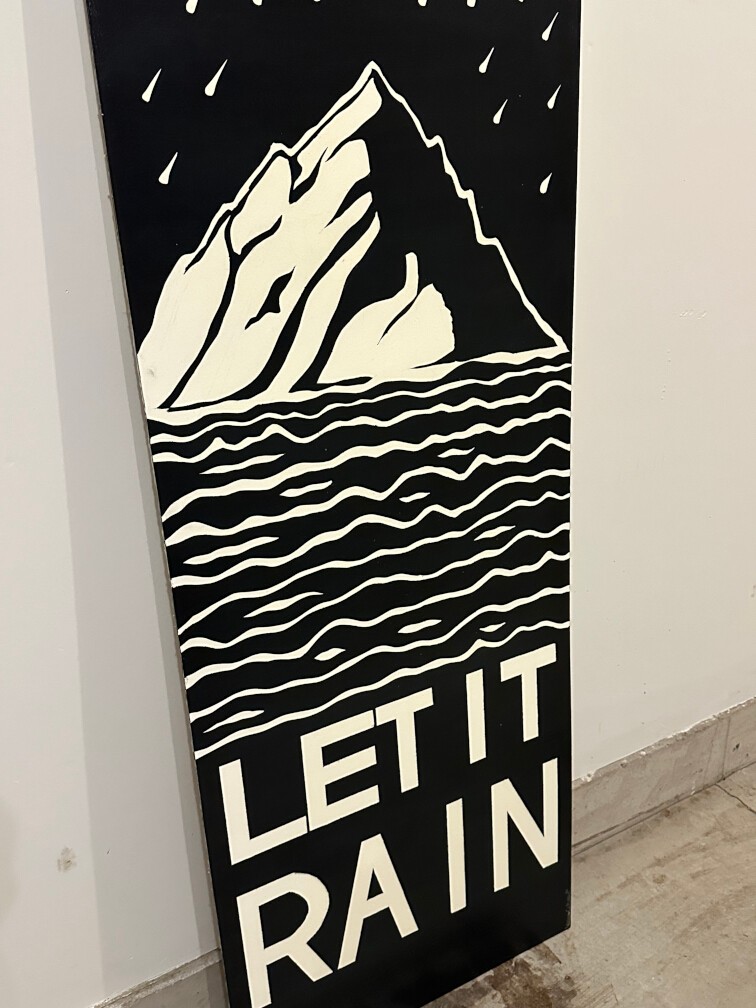
- Rainfall Over a Mountain
- The Mountain
- Waves Below the Mountain
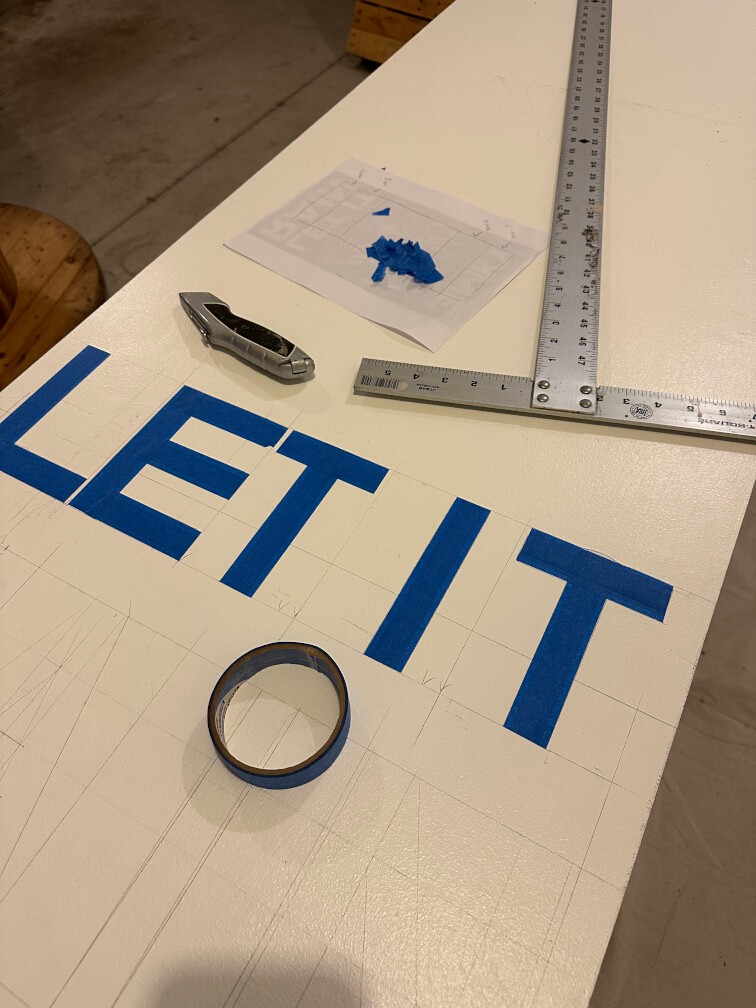
- “Let it Rain” Phrase
Plan the dimensions of each section accordingly, ensuring the letters and design elements are properly spaced.
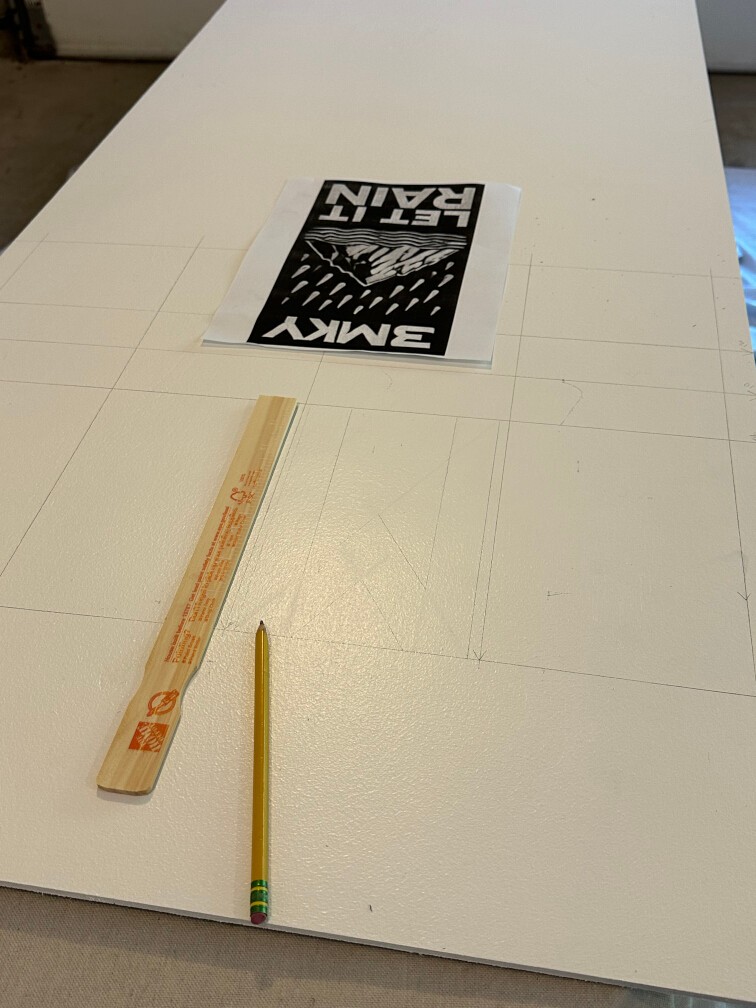
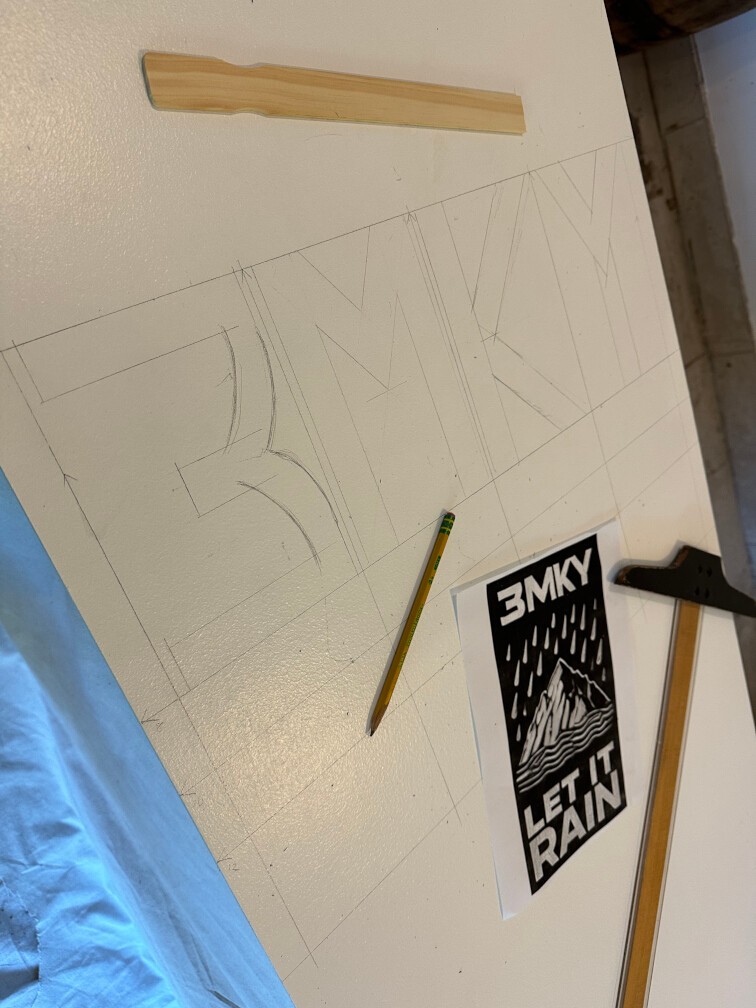
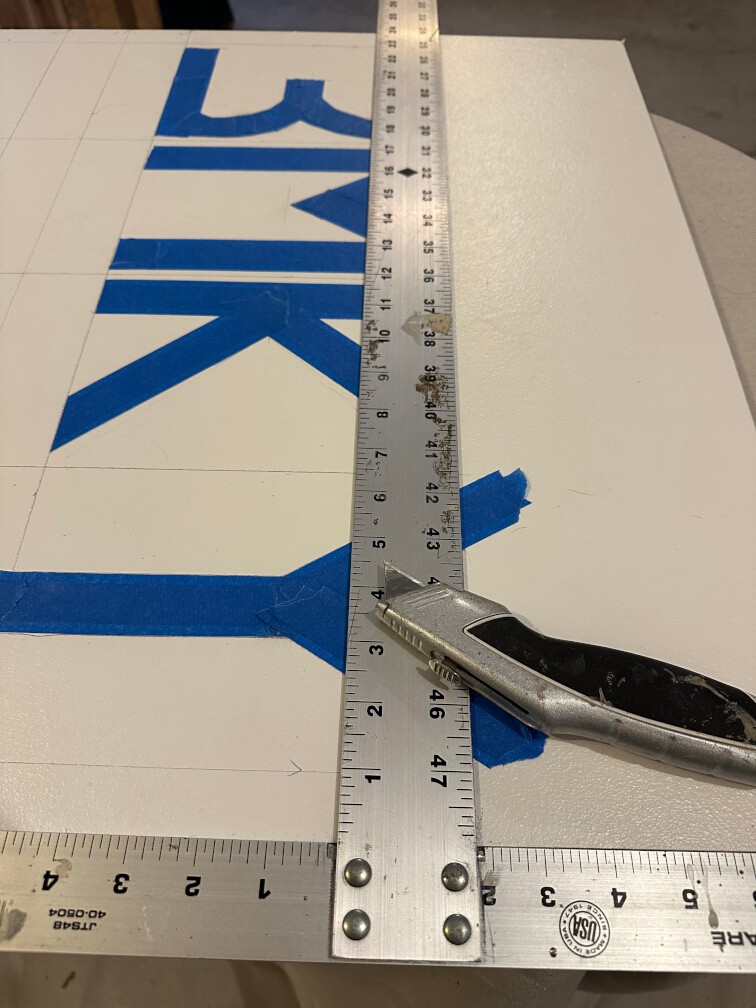
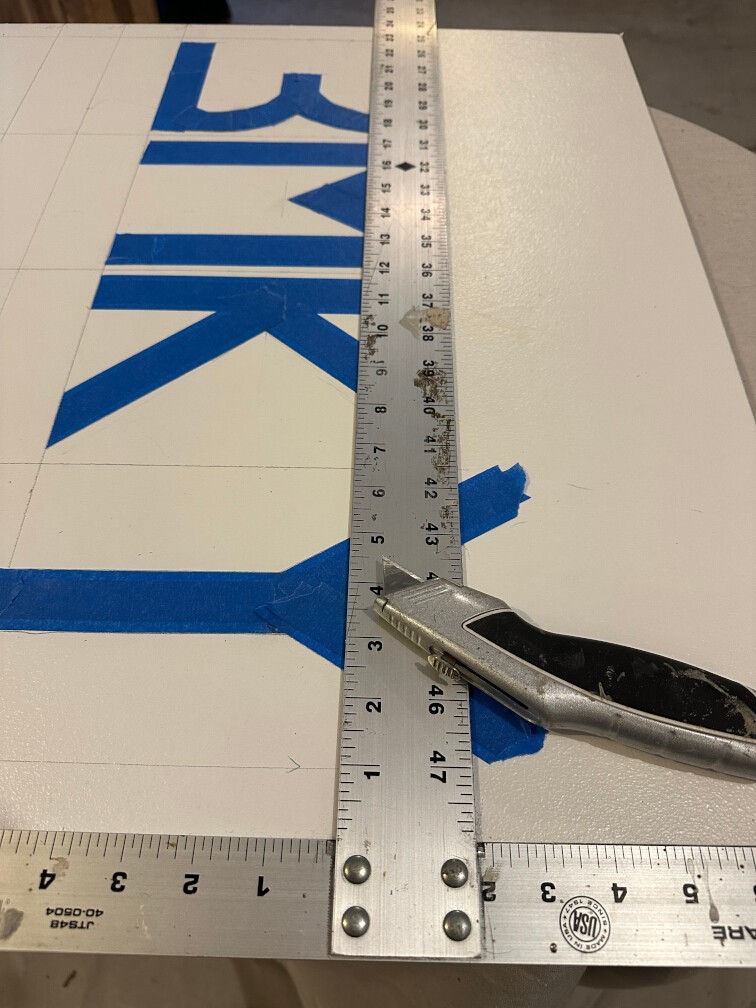
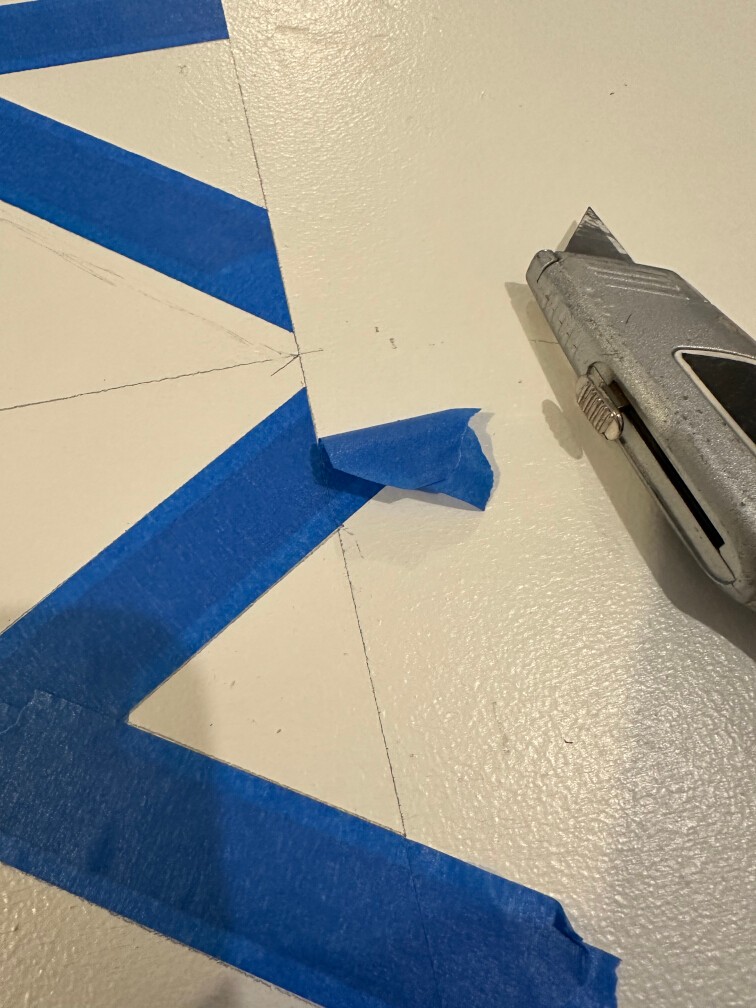
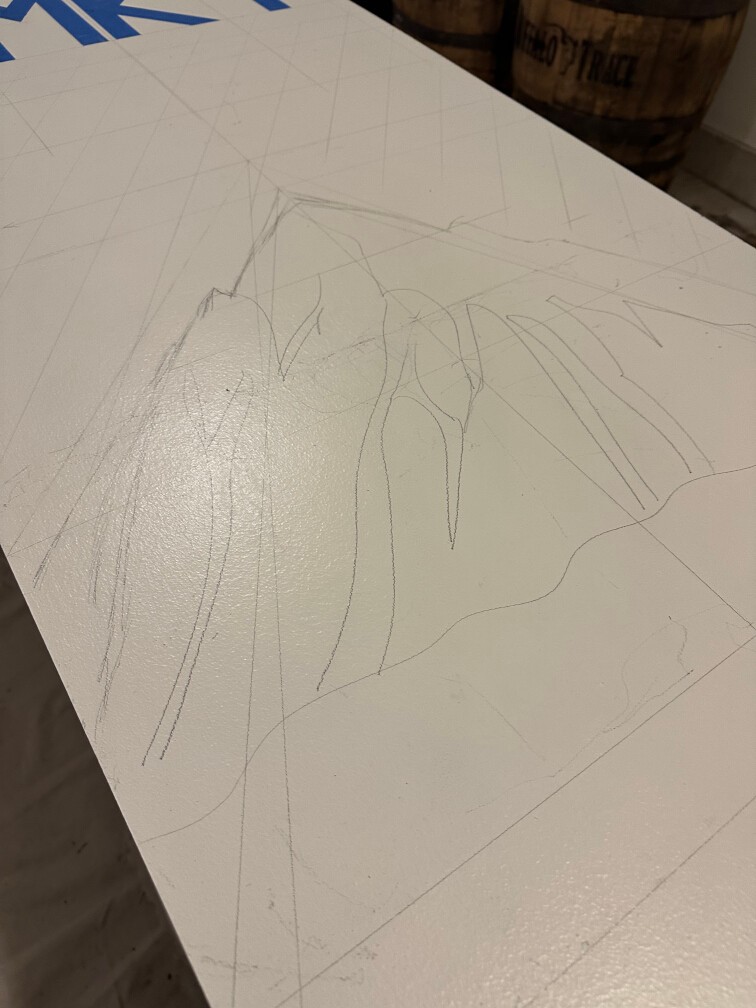
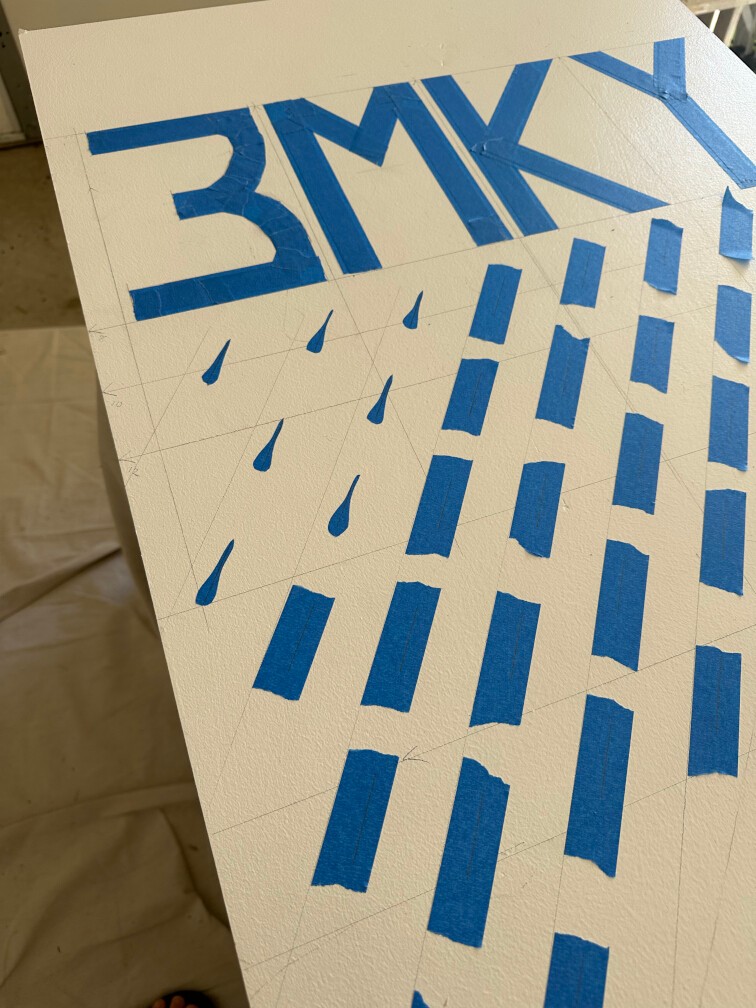
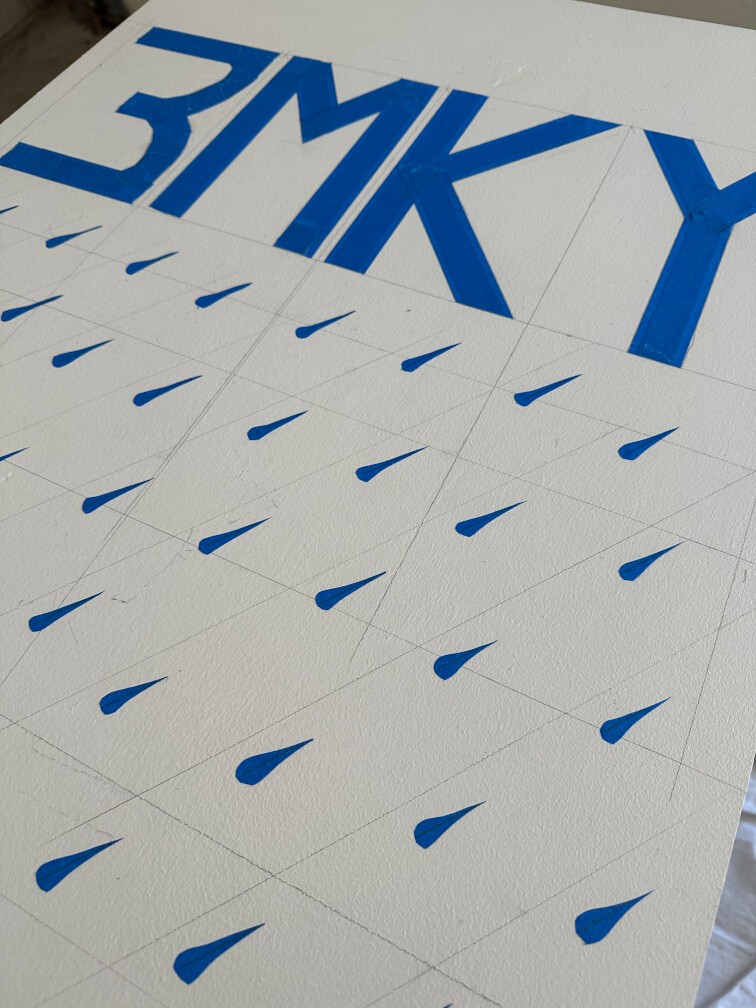
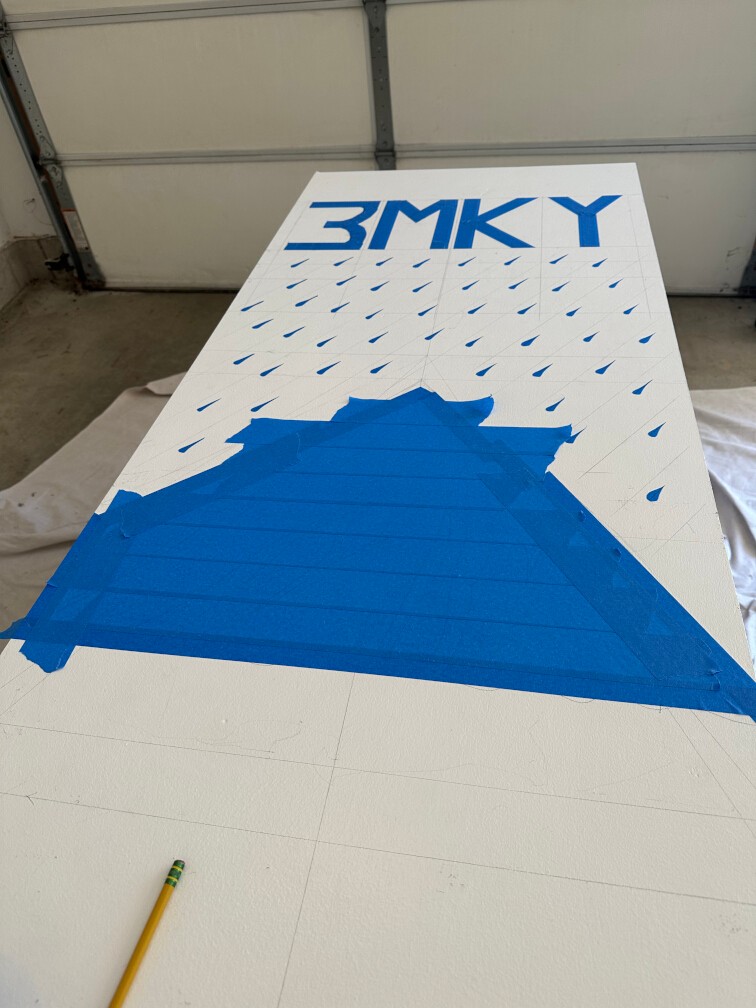
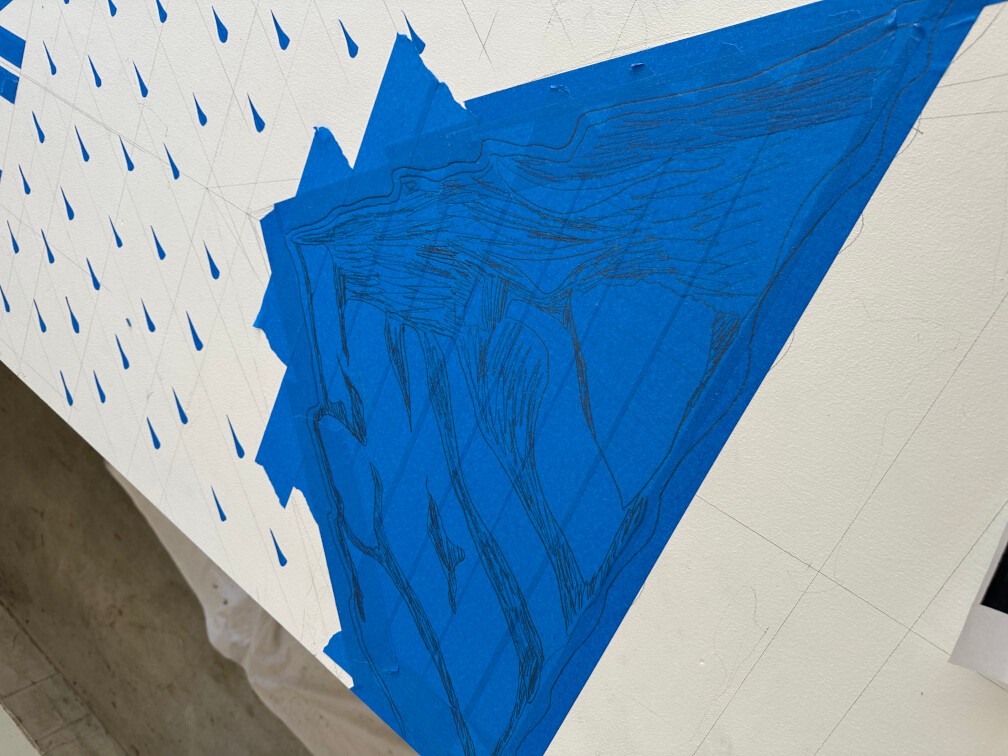
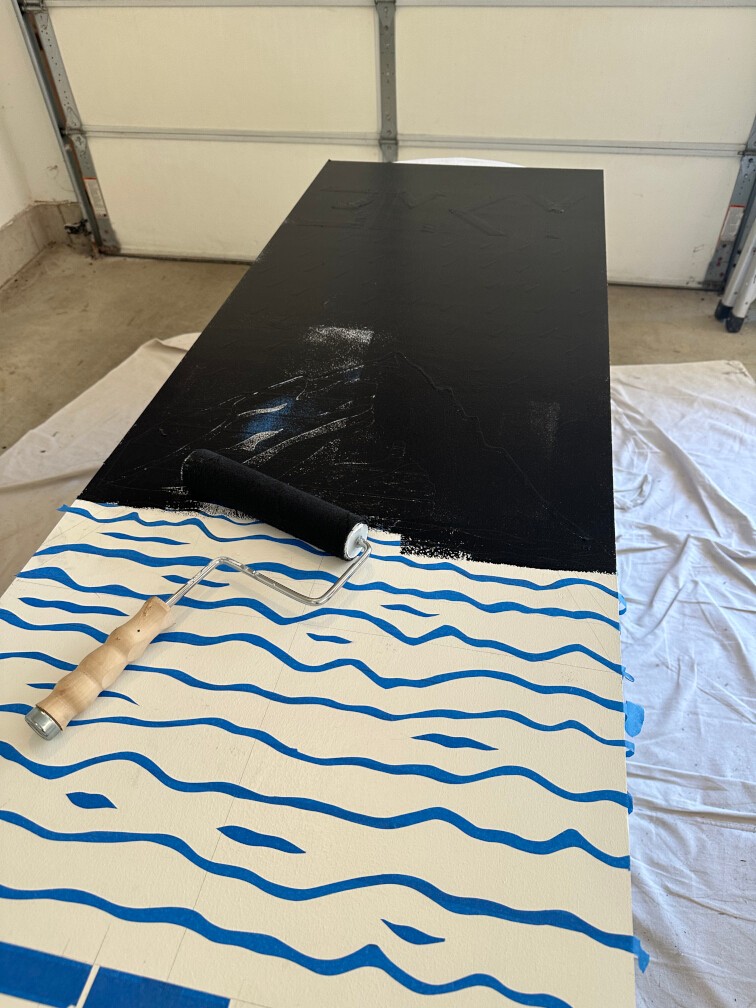
Step 7: Sketch and Tape the Design
Once you have the layout planned, sketch out the design lightly in pencil. Then, apply painters tape over the areas that will remain white. Use an Exacto knife for precise cuts on the tape. The tape will protect these areas during the painting process.

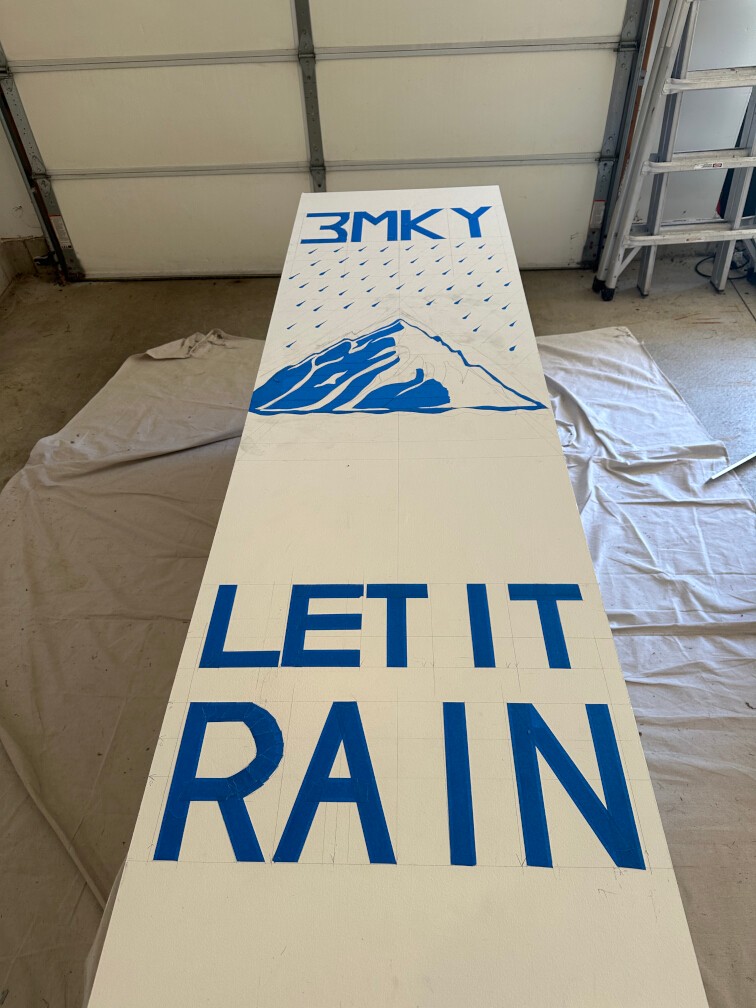
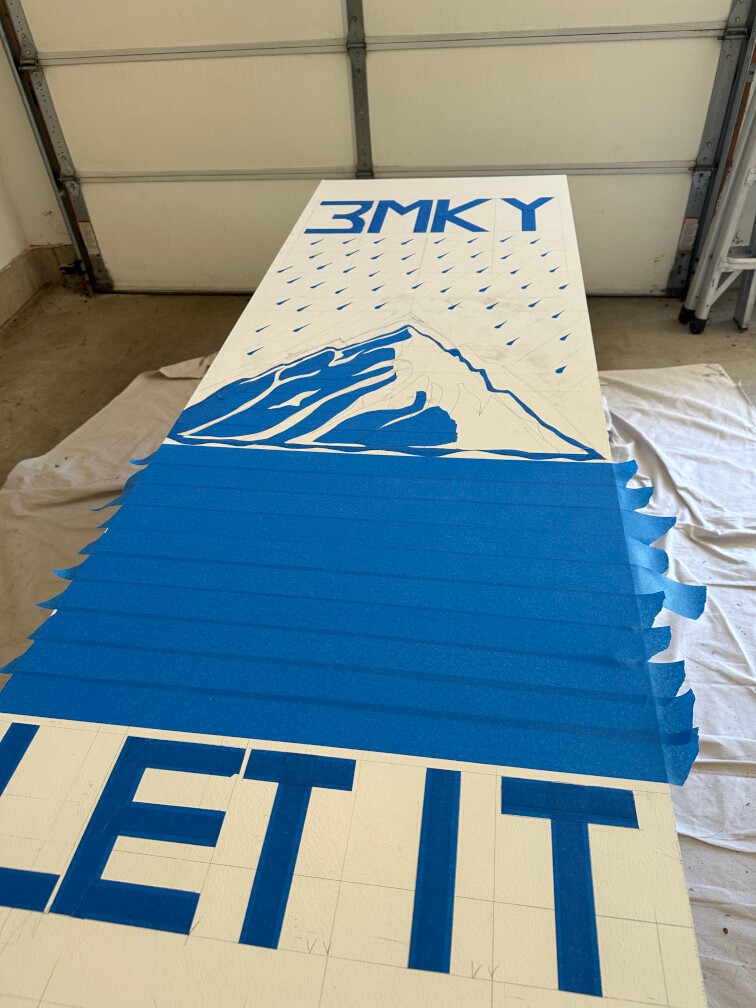

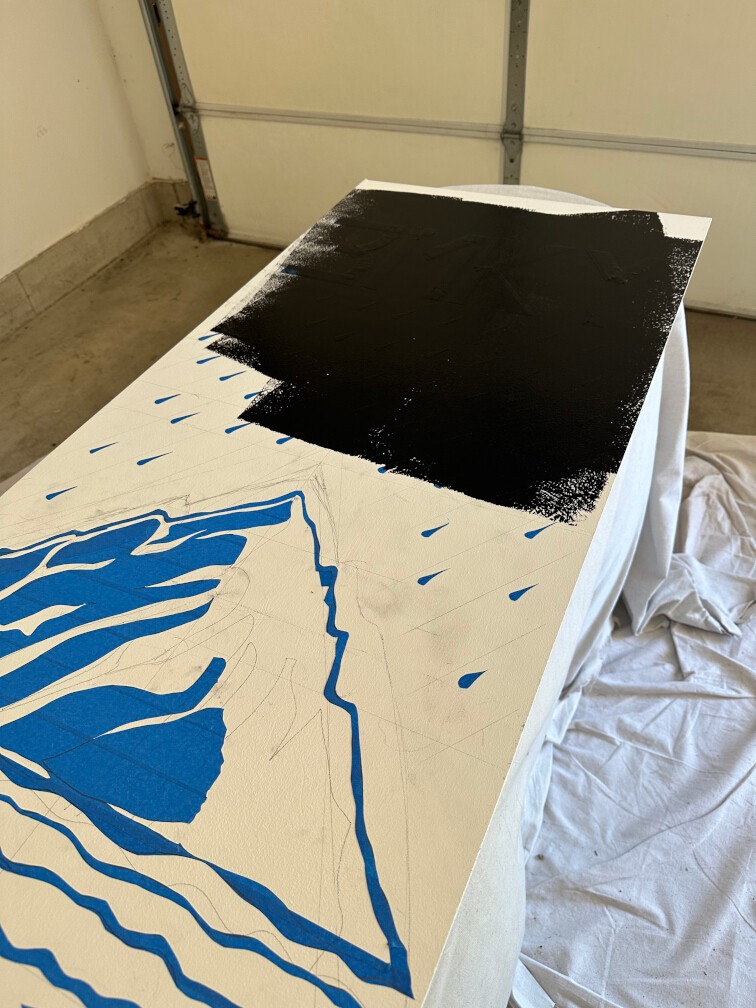
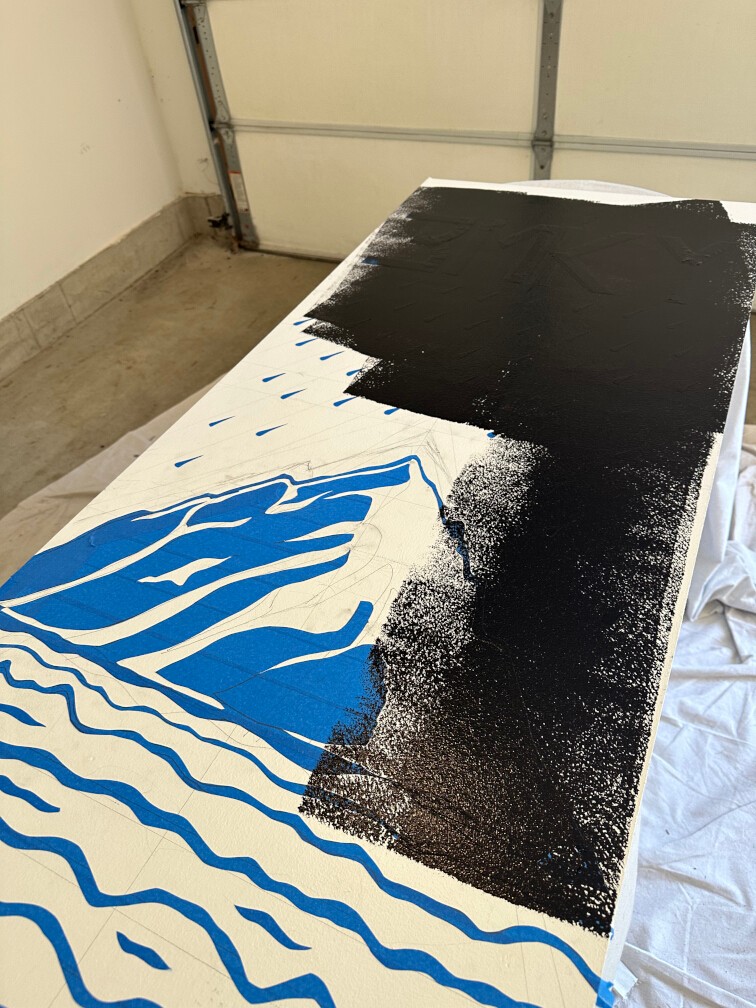
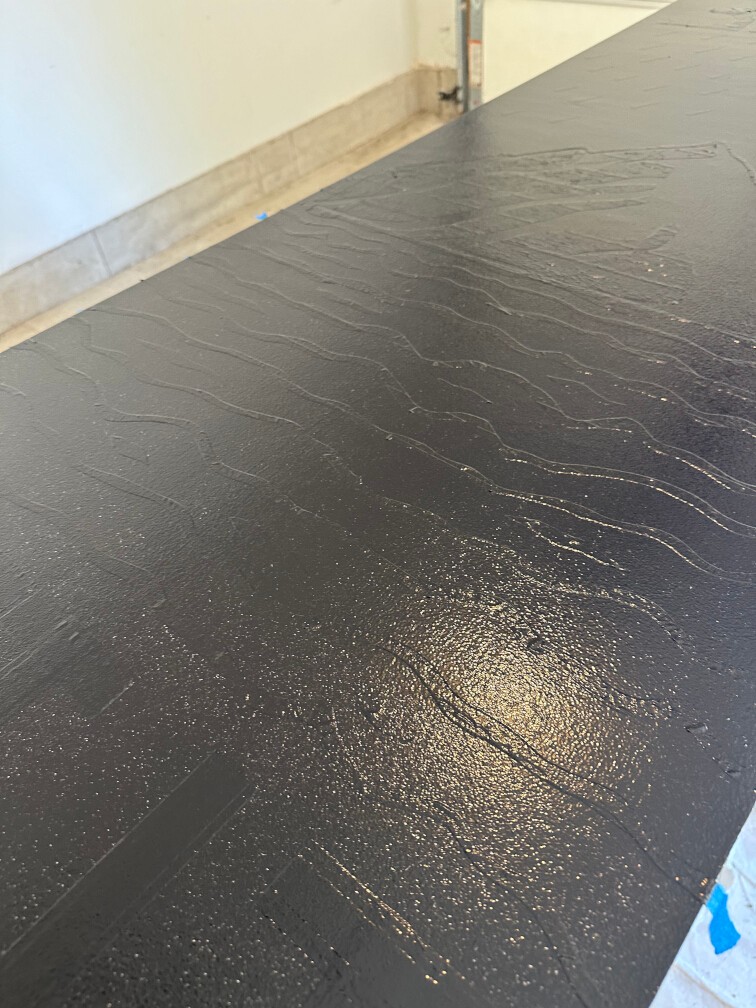
Step 8: Apply the Black Paint
Paint the entire board with the black paint, including the taped areas. Apply at least two coats for even coverage, allowing the paint to dry for 2 hours between coats.

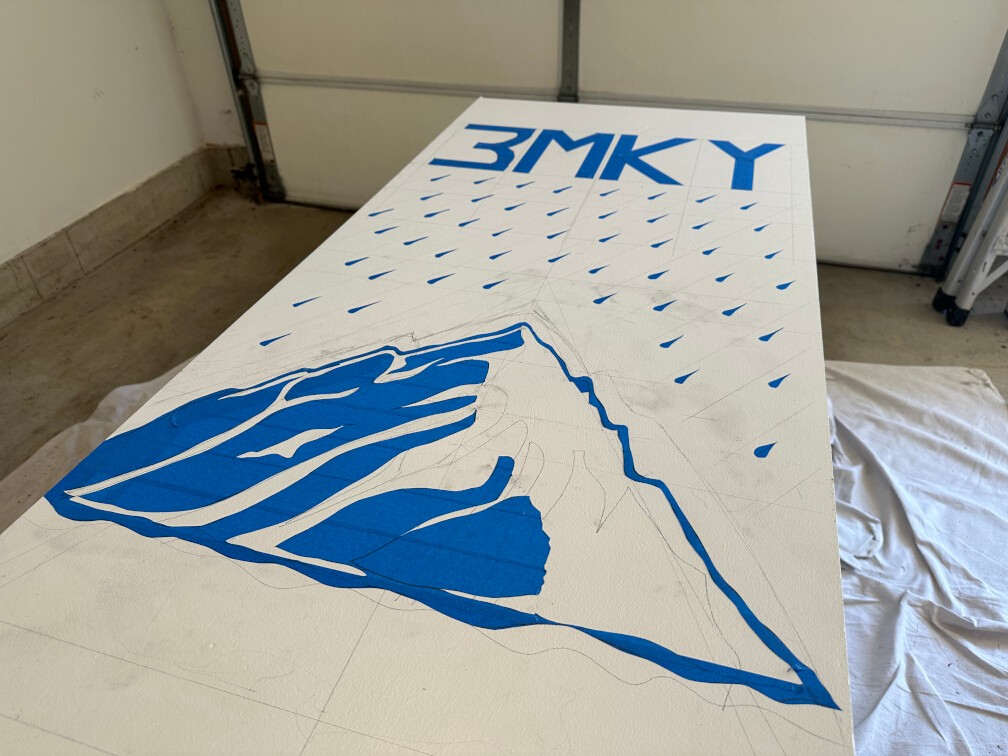
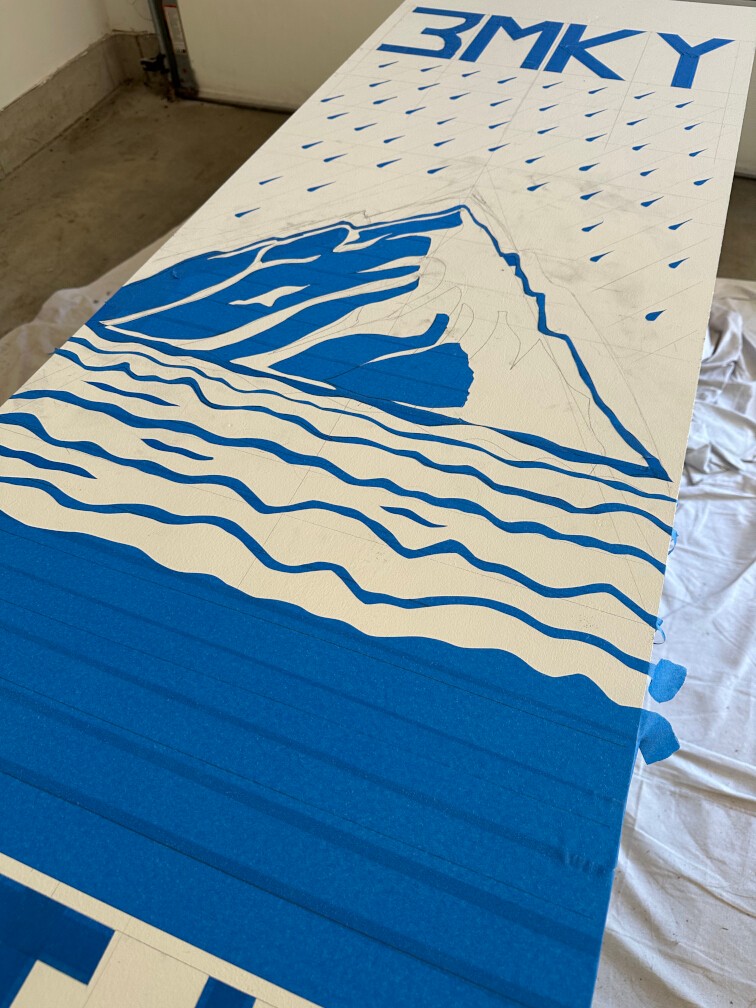
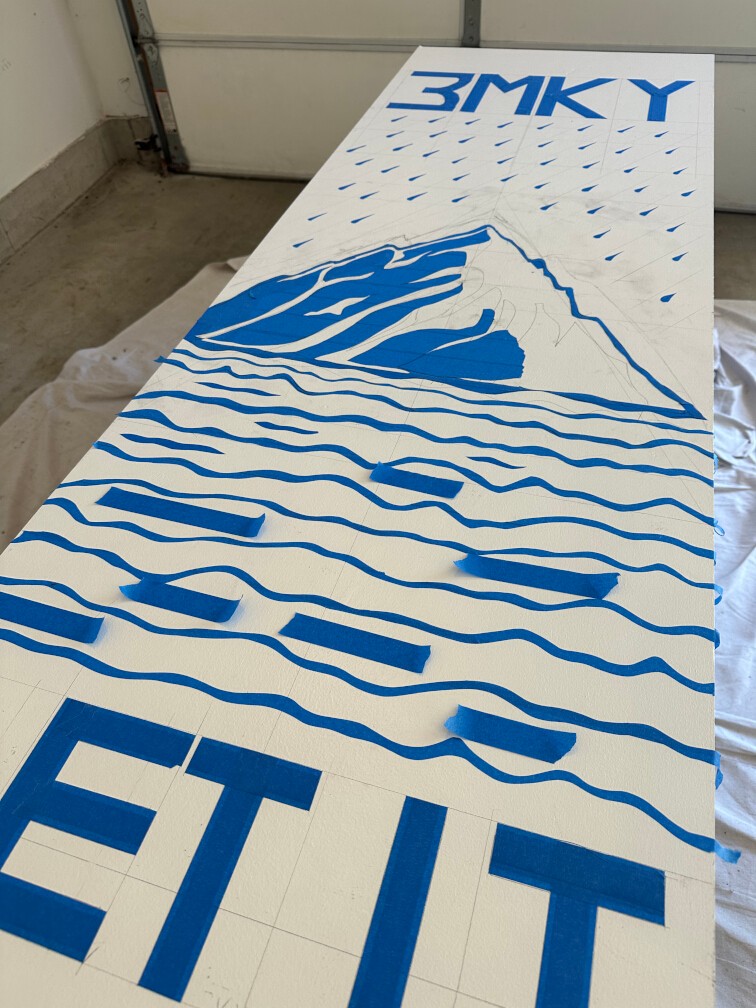
Step 9: Peel Off the Tape
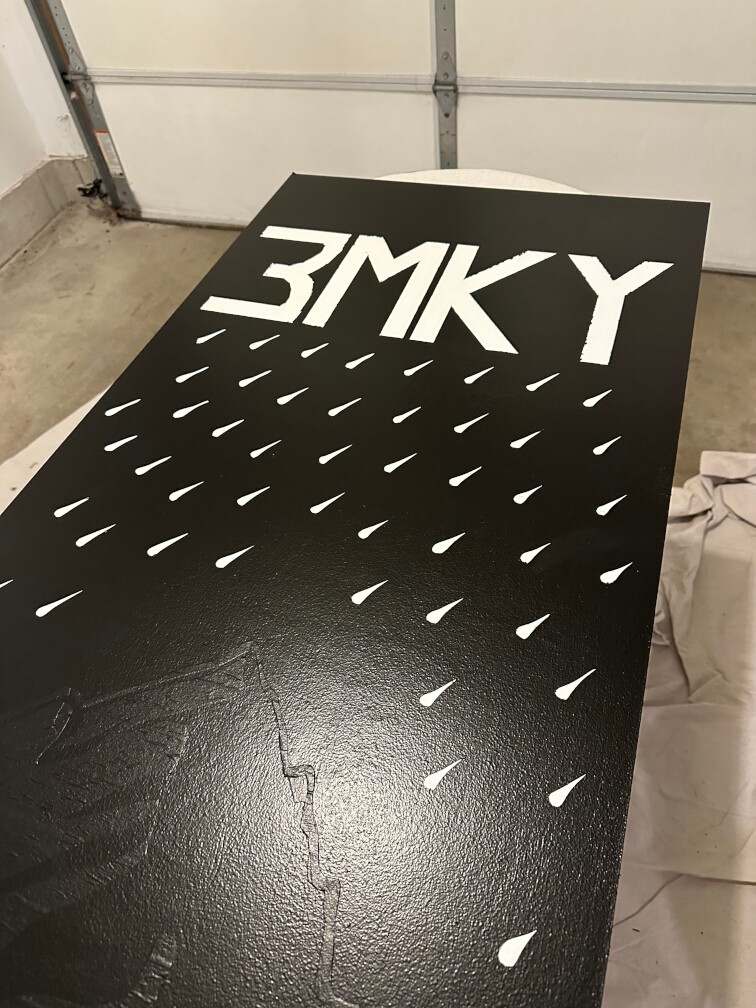
Carefully peel off the painters tape to reveal the white sections of the design. This process requires patience to ensure clean lines.
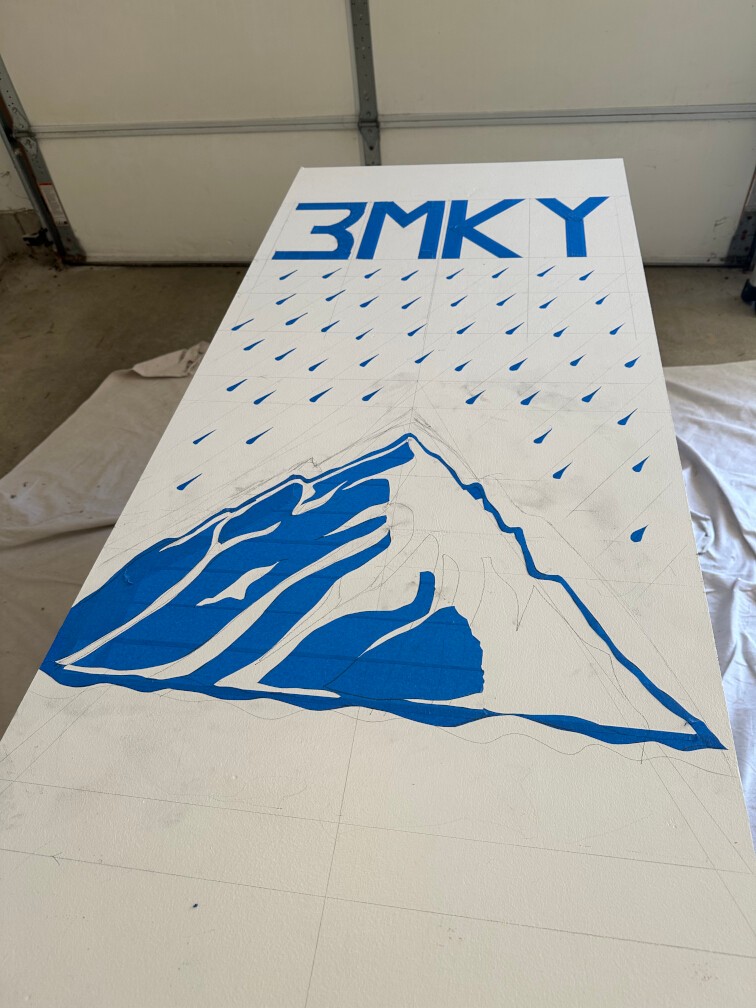
Step 10: Touch-Up the Design
Use a fine-tip brush to touch up any areas where the black paint may have seeped into the white sections. You may need both black and white paint for this step to ensure the design looks sharp and clean.

Step 11: Seal the Board
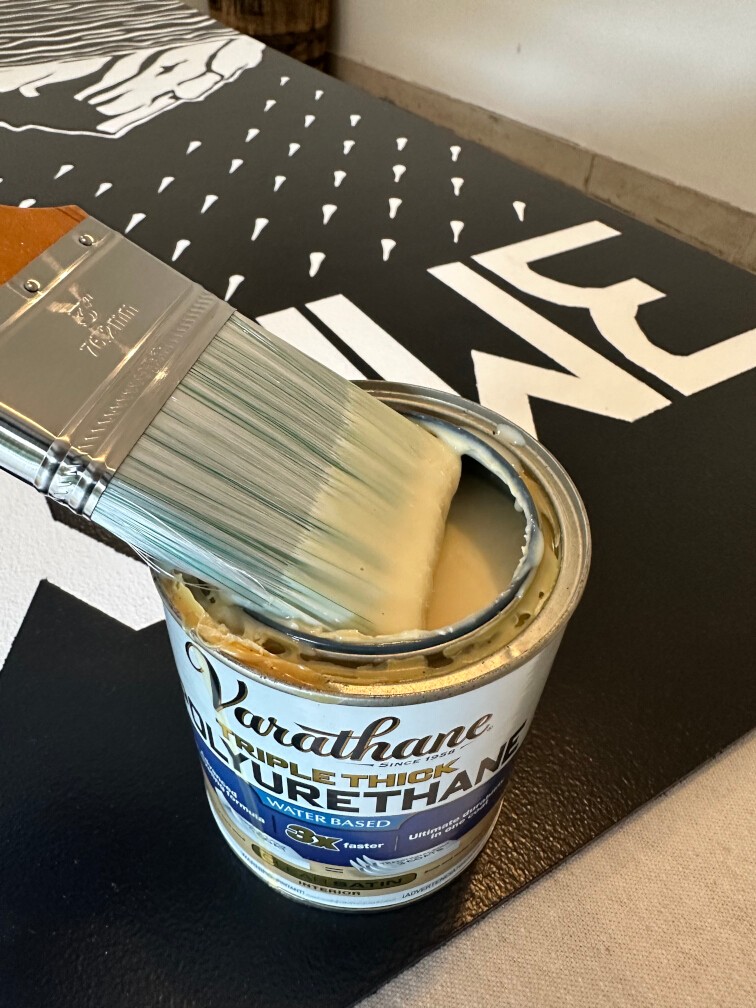
To protect the board from wear and tear, apply five coats of Varathane Polyurethane. After each coat, lightly sand the board with 320-grit sandpaper and wipe it clean before applying the next layer.
Conclusion
Following these steps will result in a durable, decorative wall walk board that showcases your gym’s theme and adds a unique artistic element to the space. Use this guide to personalize the project with your own designs and color schemes.
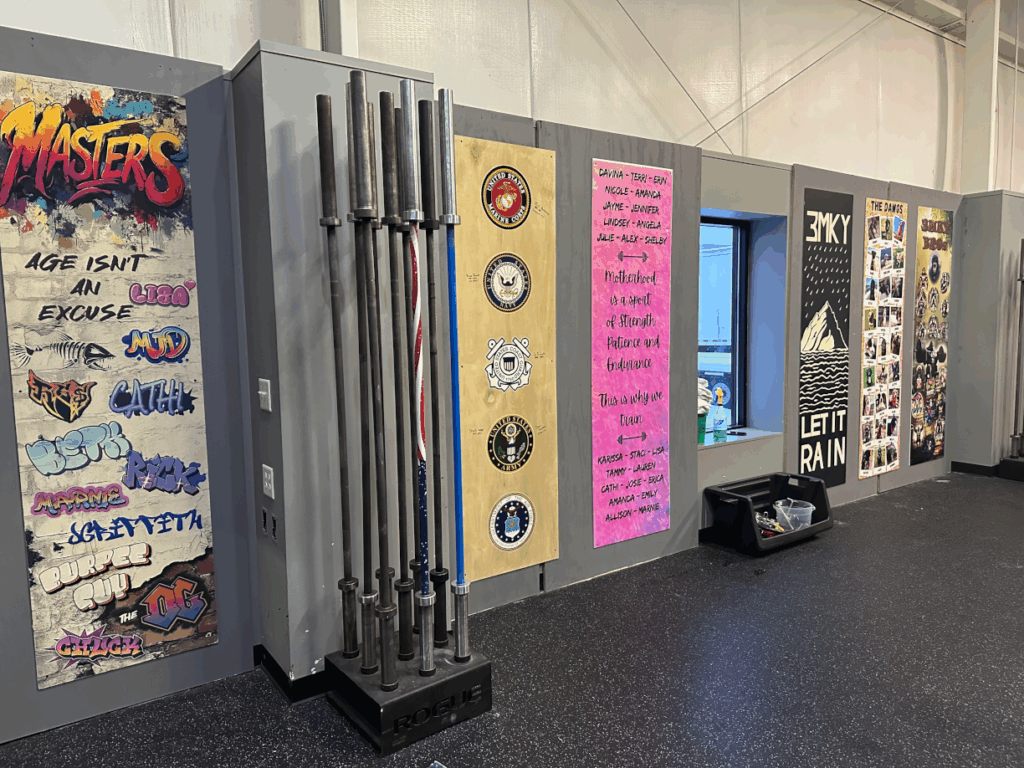
Recent 3MKY Wall Walk Boards:
Here are some of the boards our members and artists have already created. Each one is unique and reflects the creativity, history, and spirit of our community. From hand-painted designs to digital prints and photo collages, the possibilities are wide open—your board can be as original as you are.